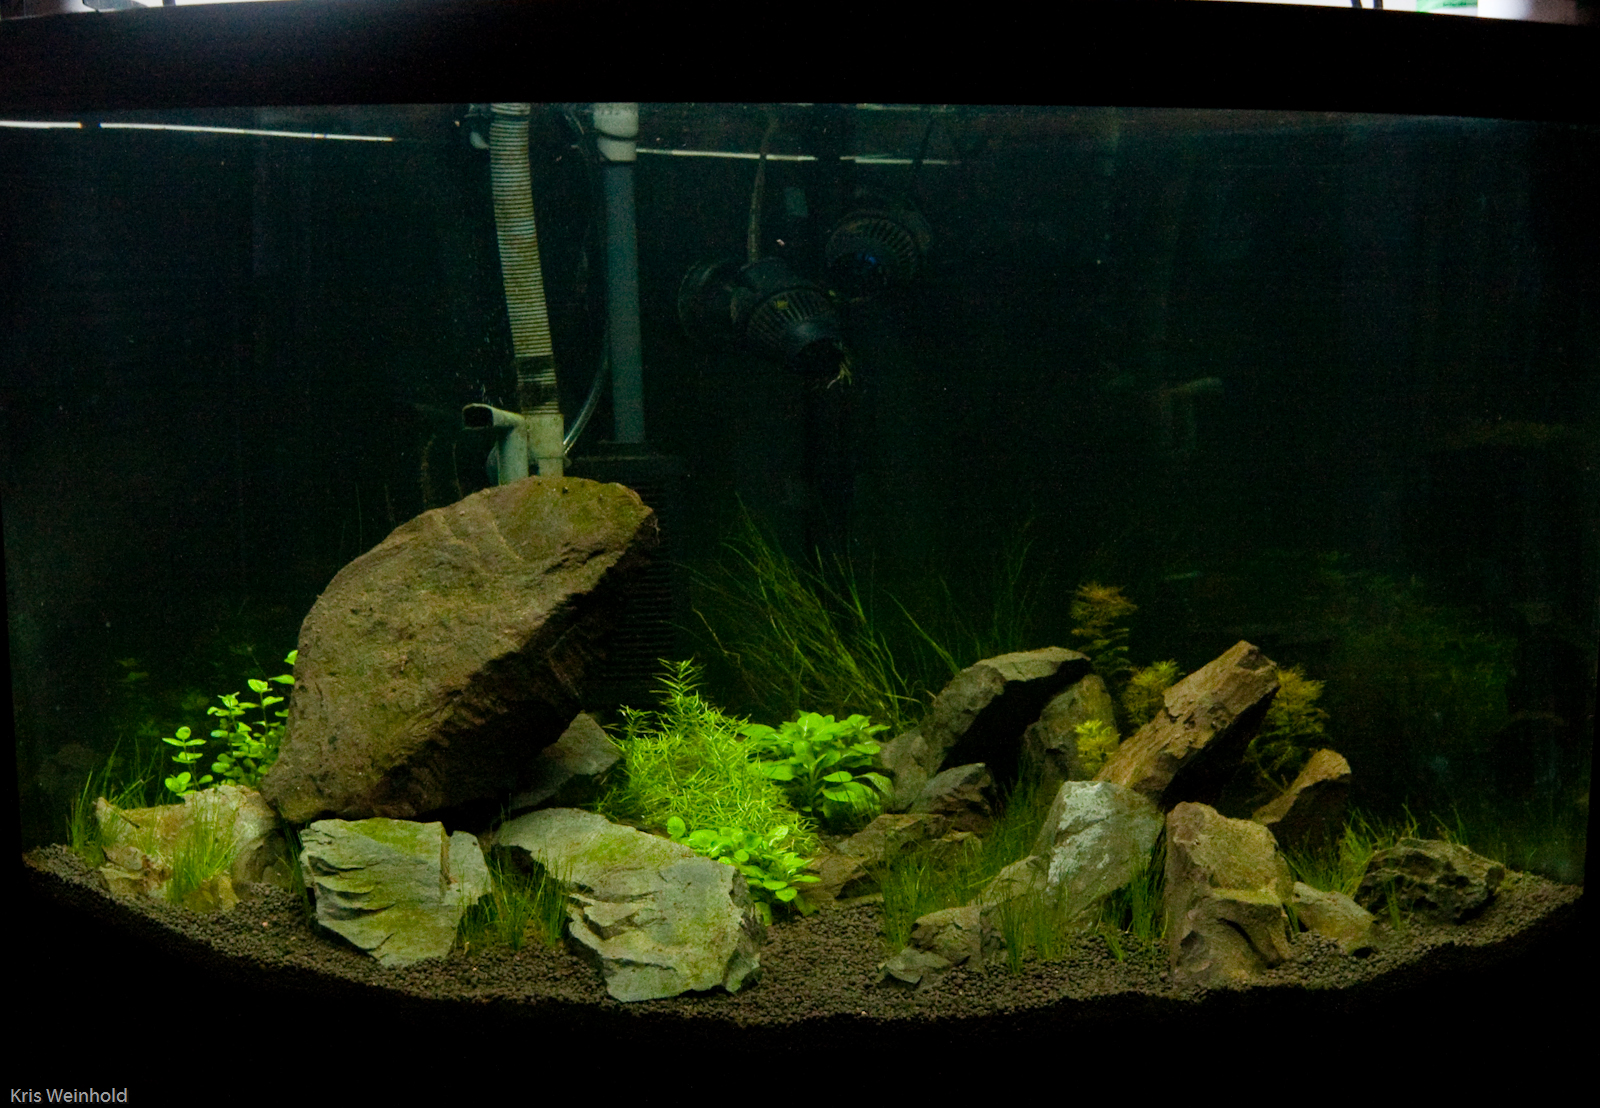
Starting a planted aquarium can seem like a daunting task. Most hobbyists start out small, gradually learning by trial and error what works and what doesn’t, and piece together information from books and websites until they finally either succeed or get frustrated and leave the hobby forever. In this series of posts, I’m going to attempt to outline the most important aspects of setting up a planted aquarium. Hopefully this will become a valuable resource to anyone new to the hobby, or experienced fish-keepers who are looking to setup a planted aquarium.
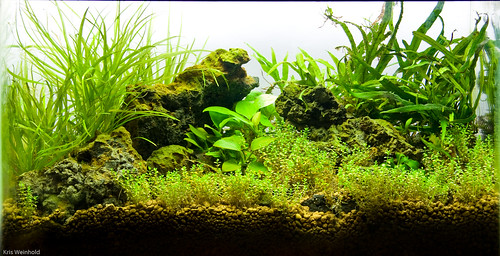
More than any other factor, lighting is the driving force that determines plant growth rates and fertilizer/CO2 requirements. Before purchasing a light for your tank, you need to determine what your ultimate aspirations in the hobby are. Do you want to be able to grow any type of plant? Do you mind spending time trimming your plants every week? Do you want to inject CO2 or add fertilizers on a regular basis? Lighting doesn’t completely determine all of these things, but it definitely has a significant impact on them.
Light Levels
The amount of light placed over your tank is often measured in watts (W). There are many resources that recommend a range of watts per gallon ratios (WPG) for categories called “low light,” “medium light,” and “high light” tanks. Unfortunately, the whole WPG paradigm is not a perfect formula for success. Instead, the height of the aquarium is more important than the volume. Water diffuses light so it is very difficult for light to penetrate deep into a body of water. This is why the tops of your plants near the light are often red and vigorous growers, but lower leaves remain green, or melt away altogether. Infer from this that the taller your aquarium is, the more light you will need to adequately grow plants, especially foreground plants near the substrate.
To demonstrate how the WPG rule falls apart, on a 2.5G aquarium, 26W of light would be 10.4 WPG. On a 75G aquarium, 220W would be 2.93WPG. Both are considered high light tanks, with relatively equivalent plant growing capacity. For a smaller tank, the WPG ratio is likely to be skewed due to the fact that plants need a base level of light to grow. Combine that with the smaller stature of a 2.5G tank relative to the 75G aquarium, and you don’t need a ton of light. A 75G aquarium is 20 inches tall, so much more light is required to penetrate to the bottom of the aquarium. Much less and the foreground plants could be leggy, and reach for the surface instead of crawling along the substrate.
Keeping the height and volume discrepancies in mind, in general, light levels for fluorescent fixtures can be determined as follows:
- 0-1 WPG Low Light
- 1-2.5 WPG Medium Light
- 3-4+ WPG High Light
LED fixtures are an entirely different beast. A 25w fixture can output light superior to a 350W HOT5 and metal halide fixture. As such, for LED fixtures you must rely on PAR (Photosynthetically active radiation), the measurement of the amount of photosynthetically active wavelengths in light. To define light levels, you should figure out how much PAR you have at the substrate. Here is a rough guideline. These guidelines are true for florescent and incandescent fixtures as well:
- 0 – 30 PAR – Low Light
- 30 – 80 PAR – Medium Light
- 80-120 PAR – High Light
If you have at least 80 PAR at the substrate, you should be able to meet the lighting requirements for almost any plant in the hobby.
Choosing the Right Plants
It is very possible to have a beautifully planted aquarium with very low light levels. In order to achieve this, you must choose only plants that are predisposed to growing with less light. Some examples of these plants are Anubias, Cryptocoryne, Bolbitus, Java Fern, Swords, Vallisneria, most mosses, and a small handful of stem plants. While there are a large number of species within these genera, your plant selection is quite curtailed from that of higher light levels. These plants will grow extremely slowly in low light, which means that they will not require frequent trimming, but if you suffer from an algae outbreak, it will likely take longer to recover since new growth will not as quickly replace the old algae-laden leaves. Some other plants will grow, but may exhibit larger leaves, leggy growth, and green coloration. Of course, the low-light tanks are inexpensive to setup and maintain, so they do have some appealing qualities.
As you increase the light levels over your aquarium, the number and types of plants that will grow expands rapidly. Hundreds of different stem plants become viable, as do several foreground plants that are impossible to grow under lower light levels. Of course, the added light also causes plants to grow faster, thus using more nutrients and requiring more frequent trimming. While CO2 is used most readily in higher light tanks, I recommend CO2 supplementation for all light levels.
Kelvin Ratings
So far, we’ve only talked about the intensity of the light, but not the quality. Plants use specific colors within the light spectrum for photosynthesis, so it makes sense that not every bulb will adequately supply the type of light needed for plant growth. The color of a bulb is determined by the bulbs’ Kelvin rating. There are many different Kelvin ratings that will work, but the most popular are 6500K, 8000K, and 10,000K. Bulbs in the 6500K range are usually a little bit yellow-cast, while 10,000K bulbs are more bluish. I prefer to mix colors, which tends to illuminate the tank in a more natural way. If the bulb isn’t labeled with a Kelvin rating, most “daylight” or “full spectrum” bulbs will work, as will “plant grow” bulbs. Stay away from most “cool white” or general purpose bulbs. Even within the Kelvin ranges, one 6500K bulb may be more or less yellow than another manufacturer’s 6500K bulb. Experiment with a few different brands to find the one that looks the best to your eye. (Don’t be surprised if more expensive bulbs last longer, and produce a more appealing type of light.)
Degradation of Quality Light
To make matters even more complicated, the quality of light that is produced by a light bulb decreases over its lifespan. Generally speaking, a brand new bulb will appear much brighter, and produce a more photosynthesis-friendly light source than bulbs that are more than a year old. The type of bulb makes a difference, as does the daily operating temperature of the bulb, but a good rule of thumb is to replace your light bulbs yearly regardless of whether or not they have burned out. Obviously, if you can reuse these bulbs in household fixtures that would be ideal. If not, be sure to dispose of them properly (not in your regular trash), as most of these bulbs contain mercury. LED generally have a much longer degradation period, lasting 5 or more years, however, unlike bulbs, they continue to emit the same quality of light, just at a decreased brightness. You can extend the life of your LEDs by dimming them over their lifetime.
Photo Periods
 The photo period is the amount of time that you have the light turned on over your planted aquarium. The recommended time for most aquariums is 10-12 hours. If you notice that your stems plants are closing up toward the end of the day, they’re done photosynthesizing, and there’s no benefit to leaving the light on any longer. In addition, if the lights are on too long, algae can advantageously utilize the extra light. Lighting systems containing multiple bulbs or fixtures can be timed to run less bulbs in the morning and evening, and more bulbs during the middle of the day, simulating dawn, mid-day, and dusk light levels. For consistency, I recommend using a timer for your lights regardless of your lighting scheme.
Lighting Options
Once you’ve decided whether you want a low-light or high-light planted aquarium, you now have to choose from a variety of lighting technologies. Fortunately (and unfortunately) there are lots of options to choose from, allowing you to customize your light solution to the specific needs of your aquarium. I’m going to give a brief overview of the most common options:
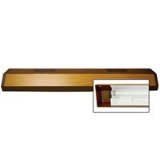 Normal-Output Fluorescent
Normal-output fluorescent lights are the standard fluorescent light tubes that are common in business ceiling lights, and the type of light fixture that’s often bundled with new aquarium purchases. Unfortunately, these fixtures are not appropriate for anything but low-light setups. Be sure to purchase plant-appropriate bulbs, and replace them yearly. Even for low-light tanks, you will likely want to invest in a double or triple tube solution. The reflectors in most of these fixtures are not very good, so a lot of light is not properly directly into the aquarium.
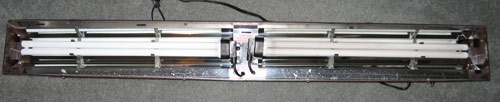
Power Compact Fluorescent (PC)
Just as power compact bulbs are growing in popularity for household use, they are also widely used with planted aquariums due to better efficiency and intensity than their normal fluorescent counterparts. They do produce a moderate amount of heat, and due to the width of the bulb, they suffer from some restrike problems. (Restrike is when light is emitted from the bulb, bounces off of a reflector, and goes right back toward the bulb, instead of going into the aquarium.) Overall, cost wise, PC fixtures often give you the best bang for your buck.
T5 Fluorescent Lighting
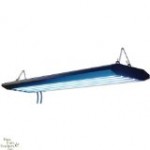 T5 lighting is immensely popular in the planted aquarium arena. T5 bulbs are smaller in diameter than normal-output fluorescent bulbs, but otherwise look similar. The difference is that high-output (HO) bulbs and fixtures are available that produce far more light. In addition, due to their smaller diameter, less heat is generated and restrike is not as much of an issue. In a fixture where each bulb is wrapped in its own individual reflector, the efficiency is very high, producing extremely good results.
Metal Halide (MH)
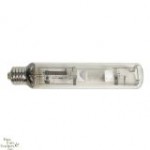 Metal Halide lighting is commonly used in the hydroponics industry as grow lights. The technology has been in the aquarium hobby for a number of years, particularly on the reef side. These lights are very good at penetrating to the bottom of tall tanks, and produce an incredibly bright light. They also produce a mesmerizing shimmer on the bottom of the aquarium. The biggest downside to metal halides is the heat that they generate, making them less efficient than most other forms of lighting. Of course, the amount of light produced can really drive plant growth and colors to the extremes.
LED Lighting
LED lights are taking the aquarium hobby by storm. There are already a few planted aquarium specific LED fixtures on the market. The benefit of this type of lighting is the extremely high efficiency of the light, with very low heat generated. In addition, LED lights are directionally oriented, so they do not require reflectors, and thus restrike is not an issue. In addition, the directional light combined with any surface ripples create the same shimmer effect that metal halides produce. Many LED fixtures include dimming capability that allow you to convert your lighting from low light to high light at the touch of a button. Finally, high-end lights include all kinds of features ranging from custom color configuration, lighting storm and cloud effects, moon lights, ramping up/down the light to simulate the movement of the sun, and more.

Do It Yourself Solutions
There are many DIY solutions to lighting a planted aquarium. The simplest DIY method is to purchase a retrofit kit for any of the above technologies, and install that into a custom built canopy or light strip. You can also rewire existing normal-output fluorescent fixtures to overdrive them, producing about 1.5X the amount of light that they normally would produce. I have seen examples of people using regular screw-in light bulbs in a canopy to light the aquarium. There are also excellent LED kits that allow you to completely customize the intensity and color of your light. In all, if you can think it, you can do it. Just be sure that you use good electrical practices, and that the bulbs you use are suited to grow plants.
Combined Solutions
There are several fixtures on the market that combine two types of lighting technology. The most popular is to combine PC/T5 lighting with MH in one fixture. These fixtures are designed to run efficient power compact lights for most of the day, with the metal halide light running in the middle of the day as a noon-burst. This is supposed to emulate the 3-hour period of the day where the sun is most intense.

Reflectors
While reflectors aren’t part of every lighting solution, they DO make a difference in the effectiveness of your equipment. The shape of the reflector, as well as, the shininess impact its ability to direct more light into the aquarium. Parabolic (rounded) reflectors are generally better than rectangular ones. Polished aluminum is generally better than white or other types. In addition, using one reflector for each bulb in your fixture is generally better than using a single large reflector for all bulbs, as this minimizes restrike.
Summary
Lighting is an important part of every planted aquarium. The more light you have, the more you are pushing your plants to grow, which causes plants to need more resources to sustain that growth. If you do not adequately balance you light levels, CO2 injection, and fertilization schemes, you are asking for poor plant growth and algae problems. Fortunately, there is a lighting solution for every lifestyle and price point, so do your research and choose wisely. At this point, I would recommend any new hobbyist seriously consider investing in an LED fixture as they bring the best balance of light output, energy efficiency, customization, and configuration.