Fixing All-glass PC Strip with AHSupply Kit
December 4th, 2006It must have happened sometime while I was at the AGA Convention, but when I got home, I noticed that something in my 75G wasn’t quite right. Of course, it took me a week to realize that one of my two All-Glass 2x55W PC light strips was no longer working. Per the suggestion of a few GWAPA folks, I tried cleaning the end caps and connections, but that didn’t work. It seems that my ballast just plain died. I had recently replaced the 2 bulbs and I didn’t really want to jump ship to a T5 fixture, so I decided that my best course of action was to repair the unit I have. I’ve ordered bulbs from ahsupply.com for a long time, but have never actually tried one of their “bright kits” with the renowned MIRO4 reflectors. This was my chance!
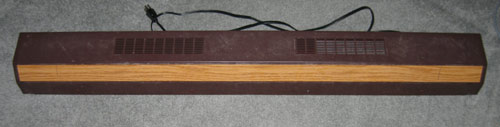
Since my existing light strip was already setup for power compact lamps, it is larger than their standard single-tube fluorescent fixture. This means that I’ll continue to have enough room for the ballast inside of my strip, instead of having to mount it on the outside, like many folks have to do. Plus, their is already enough ventilation in the top of the unit to avoid having to install any fans or vent covers.
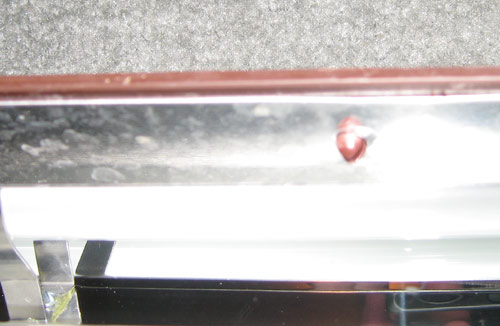
So, my first course of action was to take the strip apart. Easily enough, the unit is a two piece design. The plastic outer case is attached to the aluminum reflector, and everything else is screwed to that. So, to remove the reflector, all you have to do is pop out 8 of these little plastic pegs. Of course, I managed to break half of them, but I finally got them out.

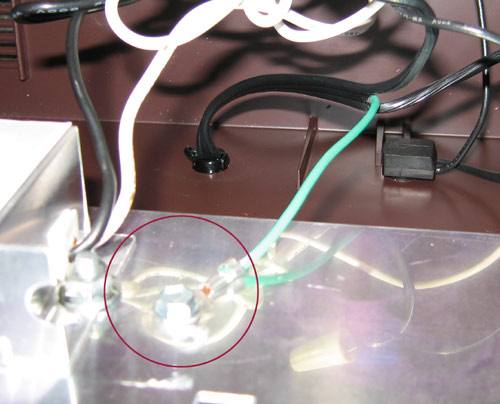
Once opened, the ballast is wired to the on/off switch on the back of the case. Simply remove the three wire nuts, and unscrew the ground wire from the reflector.

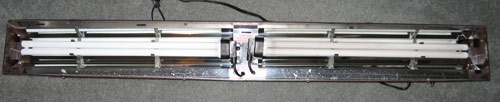
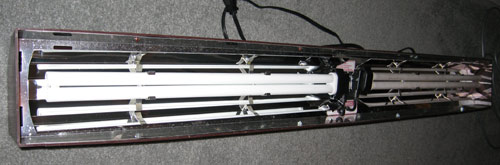
Then, you should be able to pull the reflector away from the case, and work on it. Pretty much unscrew and remove everything from the reflector: the ballast, end caps, bulb clips, etc. Once you have just the reflector, you can begin figuring out where to put all of your new AHSupply pieces. The end caps that come with the bright kit are far better insulted than the ones from all-glass. To use them, I ended up drilling a few more holes in the reflector to feed the wires in a way that better held the end caps in place. Additionally, the ballast itself is shorter than the all-glass one, so you will have to drill new holes to mount this as well. Finally, place the new MIRO reflectors so that they line up nicely with the endcaps, and drill holes through the new reflectors and into the old reflector. Basically, I just mounted the new reflector over top of the old. It was easier to do it this way because the old reflector already mounted into the plastic case perfectly, so I didn’t have to construct any new mounts to attach the new reflectors to the case.
Now, tie down the wires using the wire clamps supplied in the bright kit and wire the new ballast to the end caps and light switch per the instructions from AHSupply. (Great instructions, btw!)

We’re just about done here. Don’t forget (like I did originally) to reattach the ground wire.
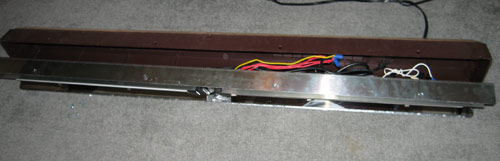
Finally, put the old reflector, with all the new parts attached to it, back into the case,
reinsert the plugs that securely hold it in place,
and you’re done!

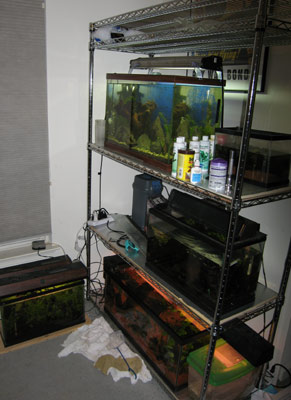 I have been wanting to consolidate some of the tanks in my office for awhile. Previously, I had them on an old bowing bookcase, a wire stand, and the floor. After seeing the current GWAPA president’s tank setup (Aaron), I decided that I wanted the same thing. So, the problem with most of these racks is that the standard ones available in your typical Home Depot or Lowes only support about 200-300lbs per shelf. A standard 20G aquarium weighs about 230lbs filled with water. So, just a single 20G would be pushing the limits.