Auto-dosing Fertilizers – DIY Style
March 24th, 2008 In my last post, I explained how I tested for two weeks to determine the proper amount of fertilizers my 40G tank needed to sustain healthy plant growth, and eliminate algae. With that knowledge in hand, I have now automated my dosing routine on this tank using a few readily available items to build a DIY auto-doser. I cannot take credit for this innovation, as I was following Jeff Ucciardo’s design, who adapted it himself from various designs posted on Aquatic Plant Central.
Building an auto-doser is really quite easy. You only need a container, a powerhead to move the solution from the container to the tank, some airline tubing, a check valve, and a digital timer that is accurate to the minute. You’ll also need some sort of a syringe or pipette to convert the output of the powerhead down to the size of the airline tubing.
For the container, I bought a clear container from the kitchen department of IKEA. A container that is taller will be better than one that is short and fat, as the tall and skinny containers will allow you to more easily differentiate how many days worth of solution it can hold — more on that later.

The powerhead you use has a few basic requirements — it needs to fit in the container, is best to draw water from the bottom so that it will run even partially emerged, and should be strong enough to pump from wherever you plan on storing the unit into the tank. I used the 606 Mini-Jet from Aquarium Systems, and have it set to the lowest setting.

To attach the airline tubing to the powerhead, I found that a pipette from Seachem’s fertilizer bottles fits perfectly over the powerhead output if you saw off the large end.
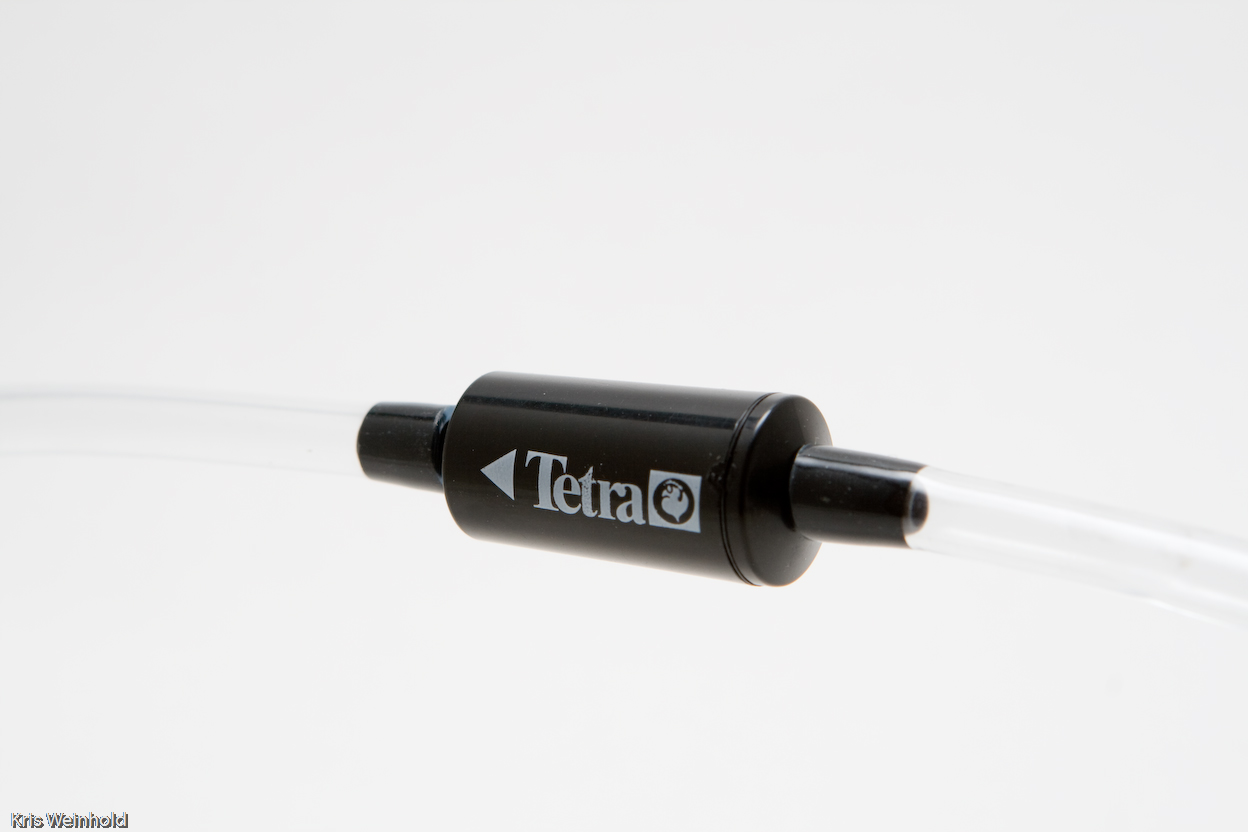
As in any case where you have tubing running into your tank, you definitely want to install a check-valve in the airline tubing to prevent a siphon from forming, and overflowing your aquarium out onto your floor — always a bad thing! I used an inexpensive check-valve from Tetra.
All said and done, I spent $2.99 for the container, $16.99 for the powerhead, $1.99 for the check-valve, and $9.99 for the Intermatic digital timer. I had extra tubing and pipettes on hand, but figure about $35 to build one of these.
Once you have all of your basic components assembled, you need to establish how much solution your powerhead moves every minute, thus figuring out how many total days worth of solution your container will hold. To do this, fill the container with water, and set it exactly where you want it to be next to the tank. This is important because the powerhead will pump different amounts of water depending on the height/distance it is pumping. Now, run the powerhead at 1 minute intervals, using a marker to mark the water level on the container at each interval. Once deplete of water, count the number of marks — that’s how many days you can automate your dosing with a full container. For me, it worked out to exactly 14 days — how convenient!
Now, armed with the previously knowledge of how much I should dose over the same period, I calculated my solution amounts. I put in 100mL of Seachem N and K, and 50mL Seachem Flourish, Iron, and Excel. It’s important not to mix P with Iron in the same container as they interact, so for now, I will have to dose Phosphate separately. Also, for the first time, err on the side of caution, and dose slightly less than what you’d expect. You can always increase it later.
It’s been running for 4 days flawlessly so far, so I’m hoping that this will further help me keep my nutrient levels exactly where they need to be in this tank. I’ll continue to do a few tests to confirm that it’s on target, but I’m looking forward to not having to worry about dosing except for once every two weeks.