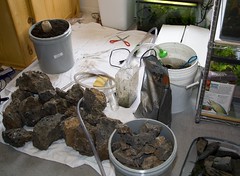
 GWAPA’s order of ADA goods came in this week, so after a long trip through traffic to pick it up, I’m finally ready to redo a few of my tanks. The first tank that I have redone is my 40G breeder tank that’s been quite the jungle of plants for more time that I care to state. This tank already had aquasoil in it, but I was never satisfied with the depth of the Amazonia I had previously added, so I’m basically just going to add another couple inches on top of the old stuff. So, like any new tank project, I move all of my buckets, hardscape materials, and tools into the room. I try to bring in more rocks than I could possibly use so that I’ll be able to choose the best rocks for the particular aquascape.
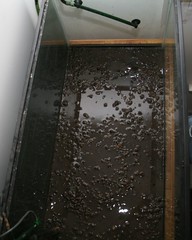
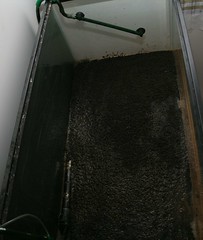 So, from here on out, I’m going to describe how to setup a basic tank using the ADA system, as I understand it. The ADA substrate system is composed of minerals, powersand, and then aquasoil. So, I scraped out the existing substrate to add more Tourmaline BC to the bottom of the tank. Only a tiny bit of this is needed. Then, I added the powersand (left), finally topping it off with aquasoil. These picture show a soupy mixture because I didn’t fully drain my tank, but this didn’t seem to be a problem. One thing to note at this point is that I reserved about 1/2 to 1 bag of Amazonia to add after I’ve established my hardscape.
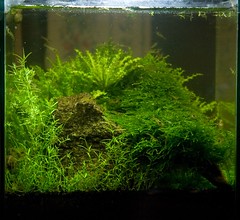
So, now that the substrate is intact, it’s time for my personal favorite part of aquascaping — the hardscape. In this particular scape, I wanted to try to accomplish a sort of mound aquascape, with aquasoil in-between some of the rocks so that I can actually plant on the “mound.” The first step is to build up the mound with the rocks. Try to envision what the tank will look like with more aquasoil and plants filling in the gaps.
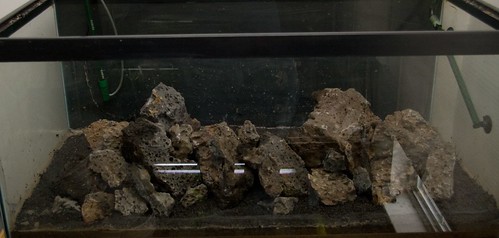
Then, after the rocks are in place, I add the remaining 1/2 bag of Amazonia on top of the rocks to soften some of the gaps in-between them. At this point, I also try to correct of the slope of the substrate to gradually ascend up the mound, and to the back of the tank.
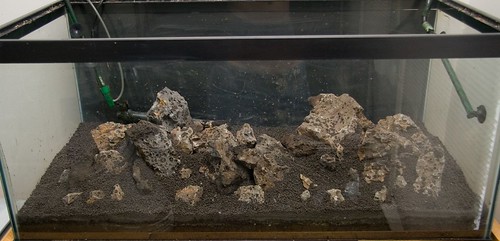
Finally, fill the tank up about 1/3 way, and begin planting. It’s helpful to have a spray bottle handy, so that none of your plants dry out while you’re still busy working. When you’re done, fill up the tank with water, and hopefully you’re happy with what you’ve accomplished. In this scape, I ran out of plants that I wanted to use, so I still have a little bit of work to do, but when isn’t that the case?
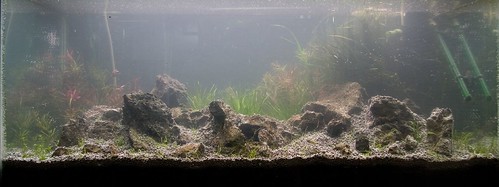
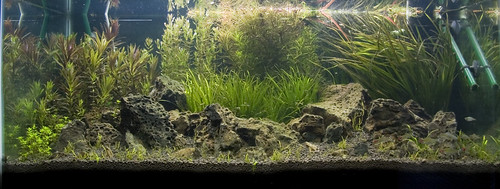
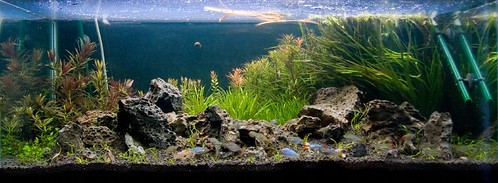
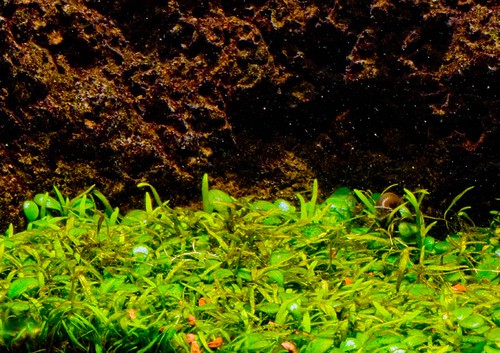


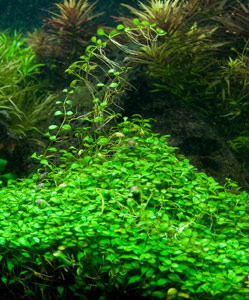 When your aquascape has a glosso foreground, just about every 6-8 weeks, you glosso will look like it does in this picture. The glosso will have formed a mat that’s about 3-4 inches thick, with portions of that mat floating up away from the substrate. Underneath the substrate, you’ll have a nice thick mess of mulm sitting there. And if you’re lucky, you’ll have from fry using this thick mat as a refuge from much larger fish.
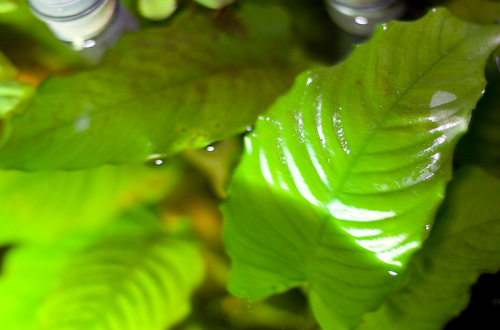 At the last GWAPA auction, “Delaware Jim” was auctioning off two bags of some “mutant anubias” that appeared in his tank. Apparently, he claims, this plant grew from a regular Anubias barterii ‘nana’ rhizome. What we’re talking about here, is an anubias plant with leaves that very closely resemble Anubias barterii ‘coffefolia,’ except the stems are approximately 12+ inches tall.


