The Farm
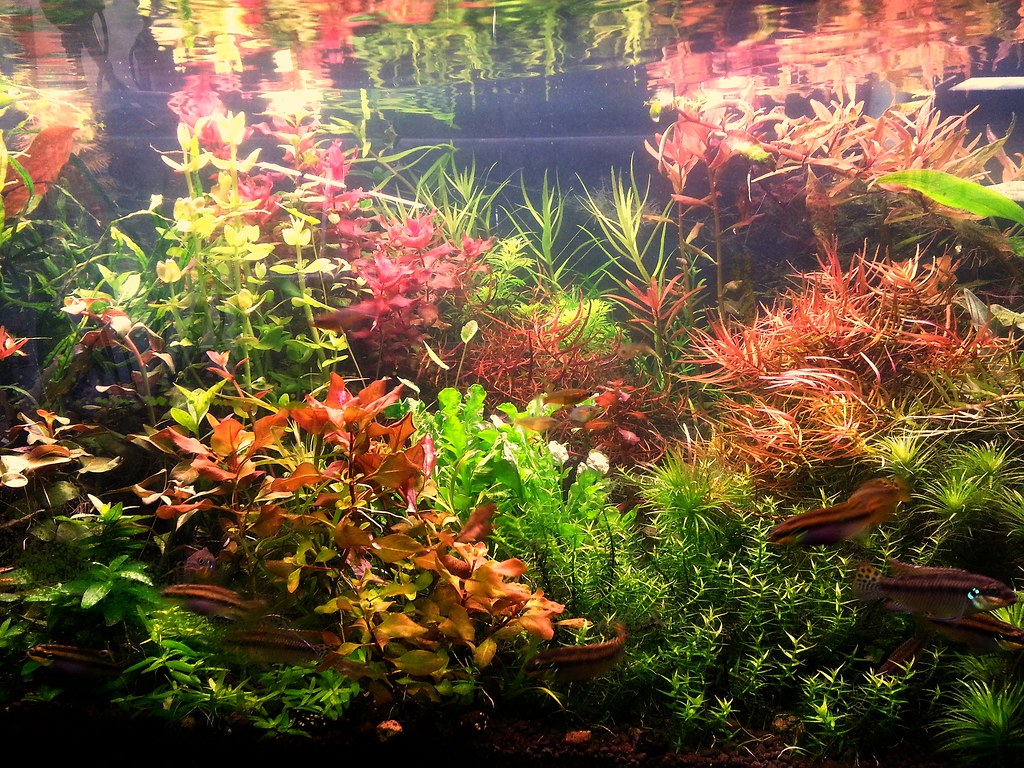
December 24th, 2014After weeks (months) of neglect, the farm tank is finally looking good again. This isn’t meant to be aquascaped , but there’s something about a collectoritis farm tank that keeps me glued to it.

After weeks (months) of neglect, the farm tank is finally looking good again. This isn’t meant to be aquascaped , but there’s something about a collectoritis farm tank that keeps me glued to it.
I recently returned from a week of travel for work. Before I left, I did my water changes, dosed a little bit extra, and made sure that the fish would get fed. Most of the tanks were already in pretty good shape
, but I had recently replanted my 40g farm tank, and it was still in the process of recovering from that shock.
Click for larger version
Much to my delight, the farm tank (above) really rebounded and grew in beautifully while I was gone. In addition, I think the lack of dosing caused the plants to temporarily color up due to needing more nitrate. This is one of those times where I find myself sitting and starring at my farm tank constantly
, even though it’s not really aquascaped. Healthy plants are mesmerizing!
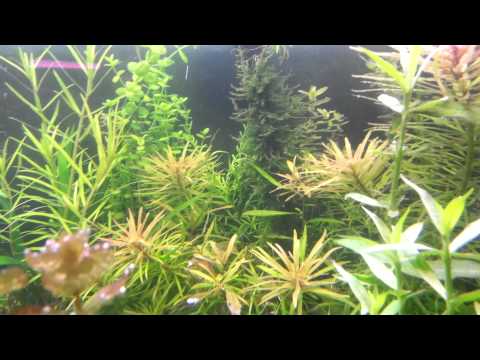
I was enjoying my fish tanks this evening, and decided to shoot a short video of my 40G farm tank. The plants are crammed in there, but are healthy and pearling at the end of the day.
I have Oryzias woworae and Pelvicachromis taeniatus ‘Moliwe’ in the tank right now. I suspect that once the cichlids get bigger, I may need to find a more secure home for the O. woworae. Everyone’s getting along now, however.
I was a good aquarium keeper this weekend, and did my weekly water changes, trimmed several plants, replanted others, and generally spent some time tank-watching. While, I wouldn’t equate my fish room to an ADA gallery, I’m slowing getting most of the tanks to a point where they’re generally pleasing to me.

Click for Larger Version
The 75G (my angelfish tank) is really looking wonderful. The bits of black-brush algae that had crept up on the hardscape are receding little-by-little every week thanks to more consistent dosing, water changes, and feeding. It probably doesn’t hurt that I added a few extra Amano shrimp and zebra nerites either. The angelfish are majestic, and are truly beautiful fish to watch. No fins get injured, but the seven large angels take and cede territory regularly throughout the day. Of course, when it’s feeding time, all seven crowd the front glass.
Click for Larger Version
The recently rescaped 33G cube is in a mixed state right now. I think the fresh Aquasoil and tannins from the wood have made the tank pretty acidic. Some of the more delicately leaved plants like Didiplis diandre and HC have melted a little bit due to this. On the other hand, Rotala sp. ‘Yao Yai‘ has grown well, but I know the nitrate levels in the tank are elevated since it’s bright green without a tinge of red. None of the fish seem any worse for wear, but I’ve pulled out the test kits a couple times to monitor, and will do extra water changes if need be.

Click for Larger Version
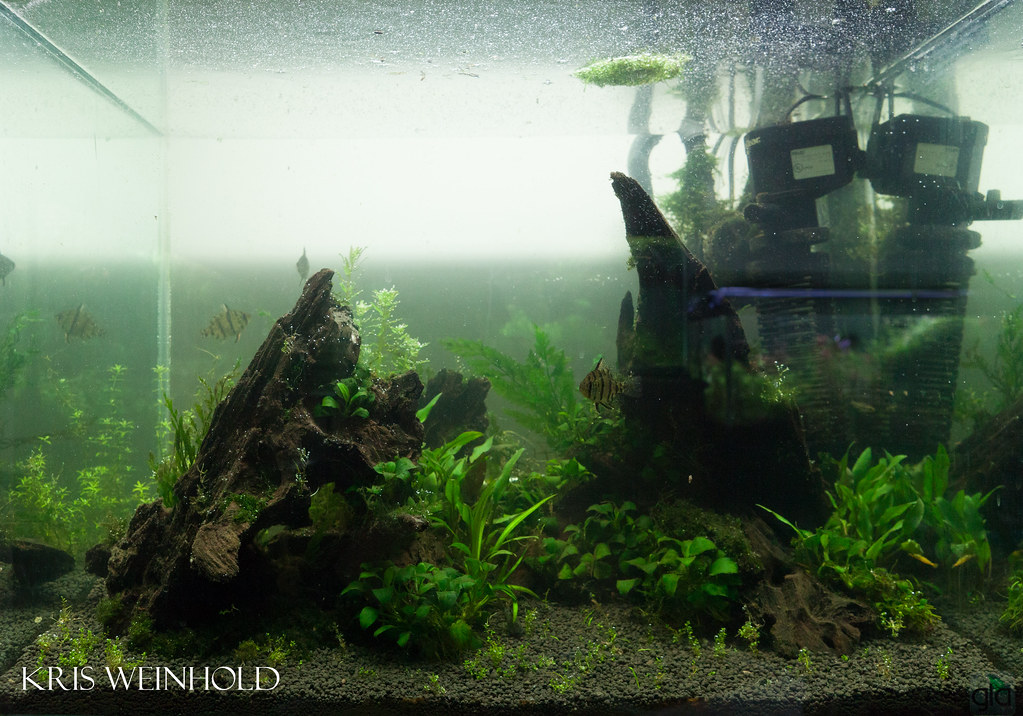
The other recently rescaped tank, my 50G has been growing well. I didn’t replace as much Aquasoil in this aquarium, so I don’t seem to have the same problems as in the 33G aquarium. All of the stem plants have grown in size. Unfortunately, the Blyxa japonica seems to be dominating the scape a little too much. I’m going to pull some of it out once the Ranalisma rostrata grows in, as it’ll provide a similar look without as much height.
Click for Larger Version
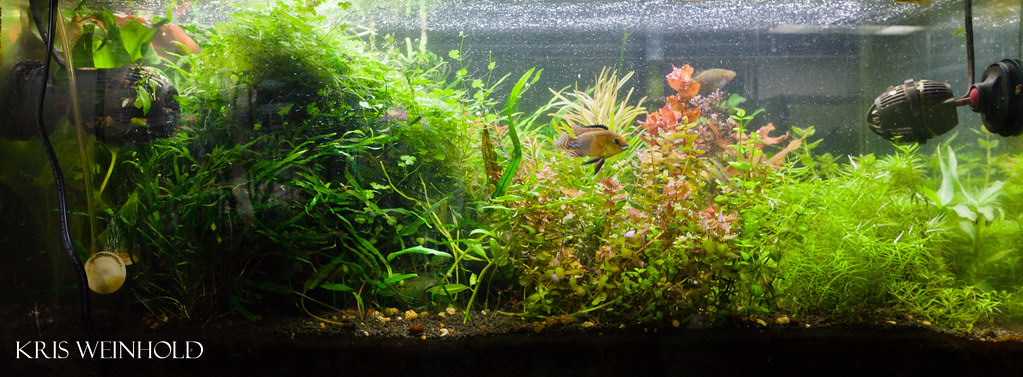
Truth be told, one of the tanks I’ve gotten the most pleasure out of lately has been the jungle of my 40G farm tank. It has a little bit of thread algae in it, but the plants are looking stunning. I’ve been diligent about my trimming to keep any one plant from shading out the rest. I also recently (within the past six weeks) moved all ferns/anubias/etc to the left side of the tank, leaving the right side solely for stem and other desirable plants. In addition, I’ve been feeding the Pseudocrenilabrus nicholsi blackworms, which has made the dominant male absolutely stunning. He patrols the tank all day long, trying to court females into depressions in the substrate or thick bushes of stem plants. There’s enough hiding places for the other fish to hide if they get tired of his aggressive behavior, however, so everyone’s happy.
At the last CCA meeting, I purchased a bag of Pseudocrenilabrus nicholsi dwarf cichlids from West Africa. This morning, while in my fish room, I noticed the dominant male showing fantastic coloration, and policing the middle of his tank. He was chasing away the other males, while gyrating his body near some plants, presumably to lure the females over to spawn there.
The video quality isn’t fantastic, but hopefully you can still see how entertaining and beautiful these little fish are…