Auto-dosing Fertilizers – DIY Style

March 24th, 2008

DIY Auto Doser In my last post, I explained how I tested for two weeks to determine the proper amount of fertilizers my 40G tank needed to sustain healthy plant growth, and eliminate algae. With that knowledge in hand, I have now automated my dosing routine on this tank using a few readily available items to build a DIY auto-doser. I cannot take credit for this innovation, as I was following Jeff Ucciardo’s design, who adapted it himself from various designs posted on Aquatic Plant Central.

Building an auto-doser is really quite easy. You only need a container, a powerhead to move the solution from the container to the tank, some airline tubing, a check valve, and a digital timer that is accurate to the minute. You’ll also need some sort of a syringe or pipette to convert the output of the powerhead down to the size of the airline tubing.

For the container, I bought a clear container from the kitchen department of IKEA. A container that is taller will be better than one that is short and fat, as the tall and skinny containers will allow you to more easily differentiate how many days worth of solution it can hold — more on that later.

Powerhead

The powerhead you use has a few basic requirements — it needs to fit in the container, is best to draw water from the bottom so that it will run even partially emerged, and should be strong enough to pump from wherever you plan on storing the unit into the tank. I used the 606 Mini-Jet from Aquarium Systems, and have it set to the lowest setting.

Pipette Sawed Off

To attach the airline tubing to the powerhead, I found that a pipette from Seachem’s fertilizer bottles fits perfectly over the powerhead output if you saw off the large end.

As in any case where you have tubing running into your tank, you definitely want to install a check-valve in the airline tubing to prevent a siphon from forming, and overflowing your aquarium out onto your floor — always a bad thing! I used an inexpensive check-valve from Tetra.
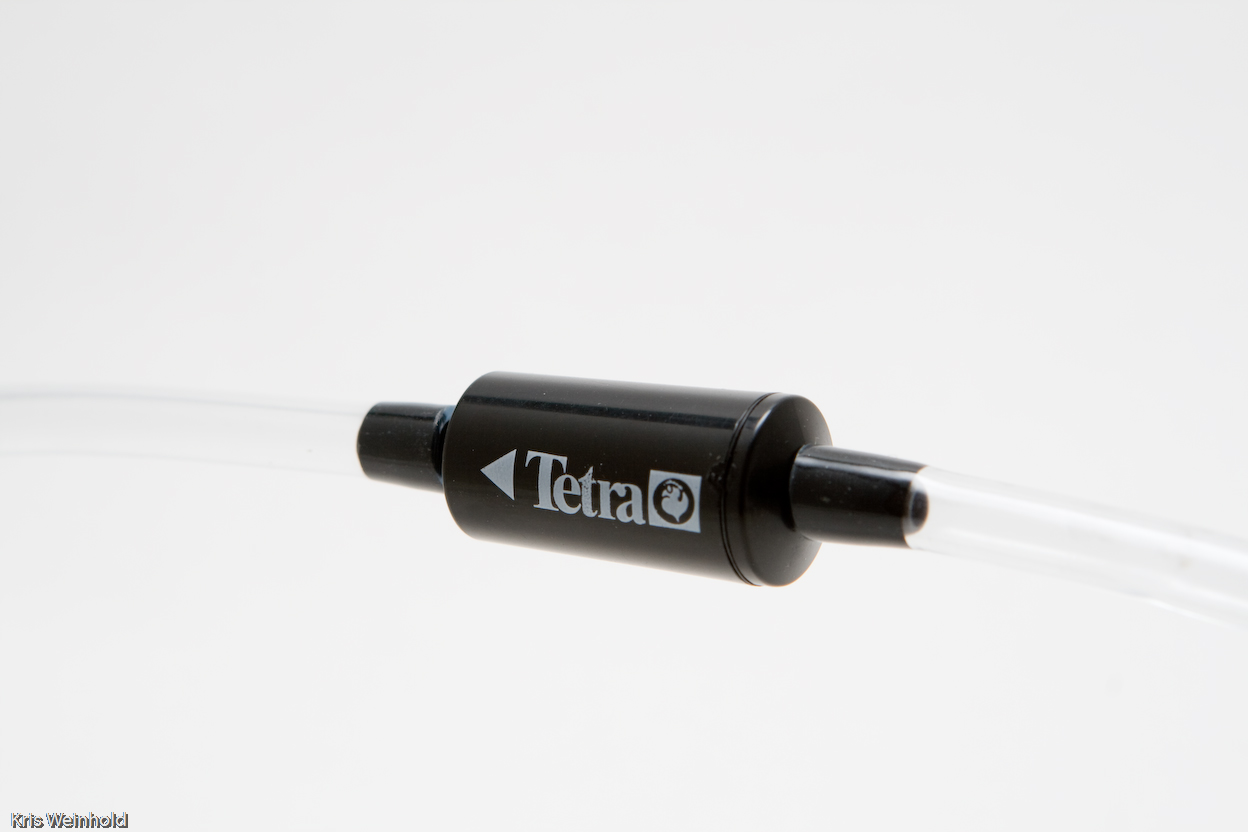
Check Valve

All said and done, I spent $2.99 for the container, $16.99 for the powerhead, $1.99 for the check-valve, and $9.99 for the Intermatic digital timer. I had extra tubing and pipettes on hand, but figure about $35 to build one of these.

Once you have all of your basic components assembled, you need to establish how much solution your powerhead moves every minute, thus figuring out how many total days worth of solution your container will hold. To do this, fill the container with water, and set it exactly where you want it to be next to the tank. This is important because the powerhead will pump different amounts of water depending on the height/distance it is pumping. Now, run the powerhead at 1 minute intervals, using a marker to mark the water level on the container at each interval. Once deplete of water, count the number of marks — that’s how many days you can automate your dosing with a full container. For me, it worked out to exactly 14 days — how convenient!

Now, armed with the previously knowledge of how much I should dose over the same period, I calculated my solution amounts. I put in 100mL of Seachem N and K, and 50mL Seachem Flourish, Iron, and Excel. It’s important not to mix P with Iron in the same container as they interact, so for now, I will have to dose Phosphate separately. Also, for the first time, err on the side of caution, and dose slightly less than what you’d expect. You can always increase it later.

It’s been running for 4 days flawlessly so far, so I’m hoping that this will further help me keep my nutrient levels exactly where they need to be in this tank. I’ll continue to do a few tests to confirm that it’s on target, but I’m looking forward to not having to worry about dosing except for once every two weeks.


Business Broker

Figuring my Ferts

March 22nd, 2008

Recently, after not quite being able to figure out what was going on with the fertilizers and algae in my 40G, I went on a meticulous 2-week testing schedule, where everyday I tested the levels of the two macro nutrients I suspected were out-of-balance, nitrate and phosphate.

DATE N (ppm) P (ppm) Changes:N P K
Day 1 5 .5 0 (WC) 0 (WC) 0 (WC)
Day 2 7.5 .5 15mL 10mL
Day 3 7.5 .5 10mL 15mL 10mL
Day 4 5 1 25mL 5mL 10mL
Day 5 7.5 1
Day 6 2.5 .25 30mL 20mL 20mL
Day 7 10 1
Day 8 5 .5 10mL 15mL 10mL
Day 9 7.5 .5 10mL 20mL
Day 10 7.5 .25 20mL 10mL
Day 11 7.5 1.0
Day 12 0 .5 30mL 15mL 20mL
Day 13 7.5 1.0
Day 14 2.5 .25 30mL 15mL 20mL
DATE What to add
Day 1 4mL Flourish
20mL Excel
4mL Iron
2.5mL N
2.5mL P
Day 2 10mL Trace
4mL Excel
4mL Iron
Day 3 7mL K
4mL Excel
4mL Iron
Day 4 10mL Trace
4mL Excel
4mL Iron
2.5mL N
2.5mL P
Day 5 7mL K
4mL Excel
4mL Iron
Day 6 3mL Flourish
4mL Excel
4mL Iron
Day 7 Water change

I dose my 40G aquarium using Seachem’s full product line of aquarium fertilizers, minimizing my costs by only buying 2L bottles of fertilizer solution, which usually last me some time. Up to this point, I had been following Seachem’s recommended dosing chart, which for a 40G aquarium calls for the dosing schedule on left.

What I essentially confirmed, when comparing the two charts, is that I was vastly under dosing my aquarium, particularly the macro-nutrients. Over the course of my experiment, as I adjusted my dosing levels according to the test results, hair algae disappeared from the tank. The plants really took off, and were looking much more healthy than before, especially plants such as Blyxa japonica that feed mostly from the water column. Although I didn’t document my trace and iron dosing levels, I found that the uptake of N and P are most definitely limited by the availability of those nutrients, as well as K. This was particularly evident between days 9 and 11, as the nitrate levels stayed roughly the same, even without dosing N. By increasing the dosages of the other nutrients, eventually, nitrate went to 0ppm, and I resumed dosing it.

The knowledge learned in this two week test is going to be invaluable going forward with this tank. More to come on that in my next post…

Business Broker

Melanotaenia praecox Photos

March 13th, 2008

I just wanted to share a few shots of my Dwarf Neon Rainbowfish, or Melanotaenia praecox. I have a school of 13 fish in my 40G tank right now, and they’re great for photography, as they tend to hover in place against the current. The school I have right now is mostly females, and I haven’t had any fry survive, probably due to the Apistogramma that are also in the tank.

Melanotaenia praecox

Here’s a close-up of one of the males in the tank. These fish are still relatively young, and haven’t fully developed the steep forehead that’s common among adult rainbowfish. The males seem to develop a slightly more pronounced arc than the females do.

Melanotaenia praecox

Below is one of the females, identified by the yellow in her fins, whereas the males fins have a reddish hue. The iridescent blue tint of their scales are even more intense and shiny in person, than in these photos. If you haven’t kept these fish, they’re perfect for planted aquariums, and wonderful community fish — just make sure to keep them happy by having schools of 6 or more.

Melanotaenia praecox

Business Broker

Pitbull Pleco – Parotocinclus jumbo

March 11th, 2008

A few weeks ago, I stopped by my local fish store on the way home from work, looking for some regular Otocinclus to help eat some algae in my 40G tank. Unfortunately, the store was out of Otos, but the owner recommended a curious little fish called the Pitbull Pleco, or Parotocinclus jumbo.

Pitbull Pleco

Of course, with the reputation that pitbulls have, I wanted to be sure that this little fish would not be a mean killing machine if let loose in my aquarium. So, the owner kindly helped me lookup more information on the fish, and as it turns out, the name is a bit of a misnomer. The fish was originally named after a pitbull due to the fact that its eyes are more on the top of it’s head, rather than on the sides, similar to the canine.

Pitbull Pleco

Satisfied, I promptly bought a half dozen of them, and brought them home. Once accustomed to my heavily planted 40G aquarium, these plecos are really quite attractive fish. They’re roughly the same size as an Otocinclus, and according to many sites only, they will not grow too much larger. In fact, they really look like a different colored Otocinclus, especially when hoisted on the glass, as seen below.

Pitbull Pleco

So, the next important question was whether they would actually eat any algae. Fortunately, it didn’t take me long to find the answer to this question, as they went straight to work, clearing the glass, rocks, and leaves of any of the spot, dust, diatom, or similar algae. They seem to leave alone the hair and fuzz algae, but that’s what I have Amano and cherry red shrimp for.

Pitbull Pleco

All in all, I would recommend the Pitbull Pleco to anyone looking for a similarly sized, but different algae eater, than the Otocinclus. They’re attractive, peaceful fish, that seem to group together, and do a fine job keeping the glass and hardscape clear. They seem to tolerate similar water parameters as most corydoras, making them ideal for 90% of the aquariums out there. Highly recommended!

Business Broker

40G Aquascape – Updated Picture

March 5th, 2008

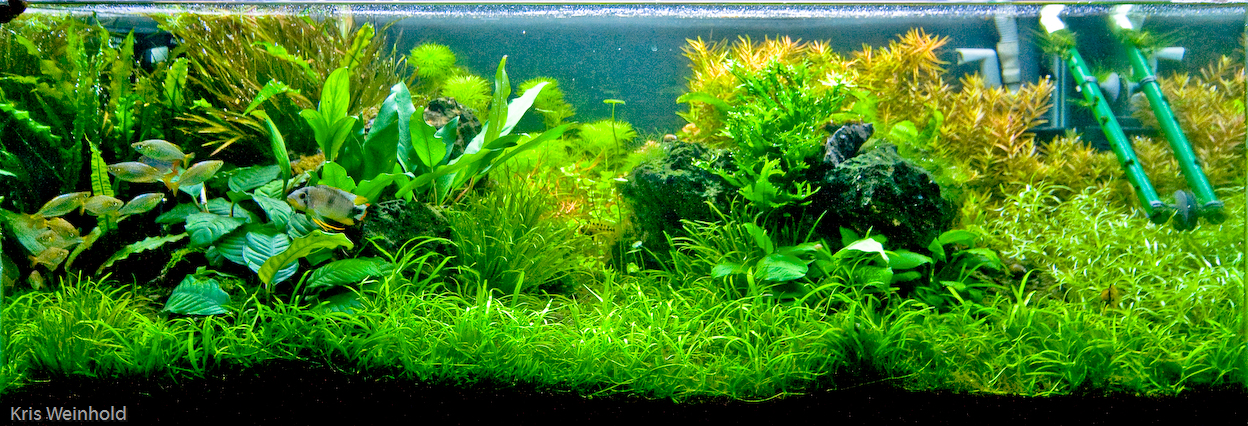
Here’s an updated picture (click picture for larger view) of my 40G aquarium. If you remember what it previously looked like, you’ll notice a profound change in the plants present. For starters, I removed most of the Micranthemum umbrosum, replacing it with the Limnophila aquatica, and just a hint of red with some stems of Ludwigia arculata.

40G Aquascape - March 5, 2008

Additionally, the Didiplis diandra and Rotala rotundifolia in the back-right are much more pronounced, while I’ve significantly hacked back the Eriocaulon sp. ‘Type 2’ in the right midground to better transition from the grassy foreground to the plants in the back. I’ve also cured most of an algae outbreak that I had in this tank, after finally putting into practice some of the tips I mentioned in my algae presentiation.

Blyxa aubertii

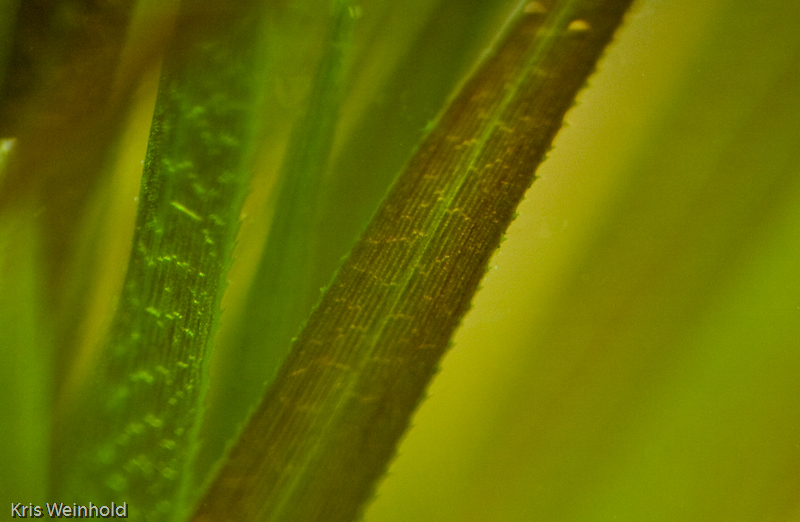
Once I did that, the Blyxa aubertii lost many of the hair-algae strands attached to its leaves. One of my favorite things about the various Blyxa plants is the cellular pattern on each leaf, as you can see above. Overall, I’m pretty happy with how the 40G aquascape is coming along, but I’d love to hear any of your comments or suggestions.

Business Broker

« Previous Entries   Next Entries »