For many catfish, specifically “suckerfish” like plecos, it’s often stated that you want to keep wood in your aquarium as it’s an integral part of their diet. It’s also true that they ought to be fed other vegetable matter, such as algae wafers, veggie-based pellets, and so on. Well, fresh, clean vegetables are also a cheap and much appreciated treat for these fish.

We had zucchini as part of our dinner last night, so rather than throwing the ends down the disposal, I cut the stalk off, and set aside 4 small circles of the squash for my catfish. Now, these vegetables were certified organic, so I was fairly confident that they would be pesticide free. In the summer we grow our own vegetables, so we know their source as well. If there’s any doubt, at the least do a thorough washing, and at the best, don’t throw them in your tank. Also, if they’ve been contaminated with any oils, butter, or seasonings, don’t put them in the aquarium.

The problem with fresh zucchini is that it floats. Placing the pieces in a small dish with a bit of water, I microwaved them for 4-5 minutes, or until they stopped floating. This boiling process breaks down the cellular walls, allowing them to become water logged. Alternatively, you can tie them down to a heavy object. The last step is to slice a couple notches in the rind of the squash. The reason being that the catfish eat out the soft core, and could potentially get the “ring of rind” caught around their bodies.

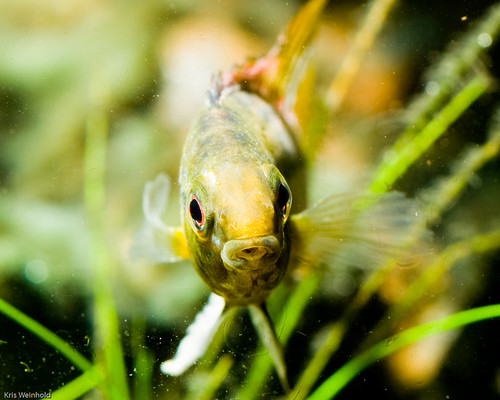
At first, when I dropped the cooled zucchini into the aquarium, none of the fish took much notice. I was surprised that the cories didn’t seem to care for it at all. Then, my chinese algae eater (CAE) found one of the pieces, and started going to town. Two other plecos (Ancistrus sp. L279) took notice and latched onto the same piece. A rigmarole of back-and-forth swapping of the vegetable pieces ensued for 20 minutes before I let them continue on for however long.

Even when not scraping the inner core of the zucchini, the CAE sat over top of one of the pieces, claiming it as his own. While this was going on in my 54G, Red Lizard Catfish and some cherry shrimp were devouring two pieces in my 75G tank. Over the next day or two, I’ll pull out the rind once all of the “good stuff” has been eaten.
Bottom line, if you’re chopping squash for dinner, set aside a couple rounds for your catfish — they’ll love you for it!
 At the last GWAPA meeting auction, I bought Ludwigia inclinata var. verticillata ‘Pantanal,’ which is a plant I have tried to keep a few times previously. Known as a relatively difficult plant, any lack of nutrients or light causes the stem plant to melt away. In the past, I’ve even seen a single stem wave in and out, with leaf widths varying from about half an inch up to 2 inches, representing periods of neglect, and periods of proper growth.